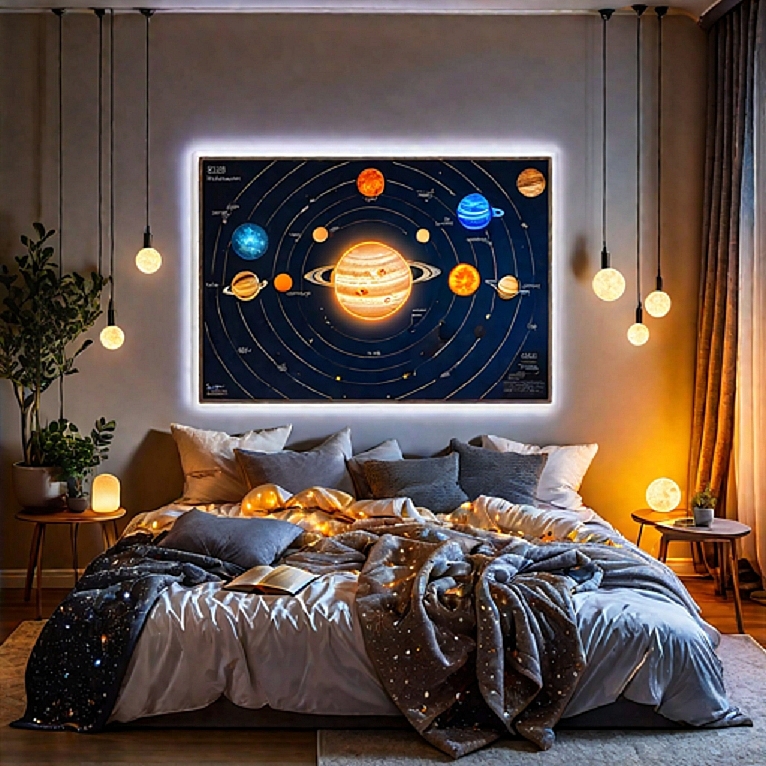
Crafting Celestial Brilliance: Illuminate Your Space with a DIY Light-Up Solar System Model Tutorial
Embark on an awe-inspiring journey through the cosmos as we guide you in creating a stunning light-up solar system model.
Immerse yourself in the wonders of space as you infuse artistry into each planet, casting a captivating glow over your surroundings.
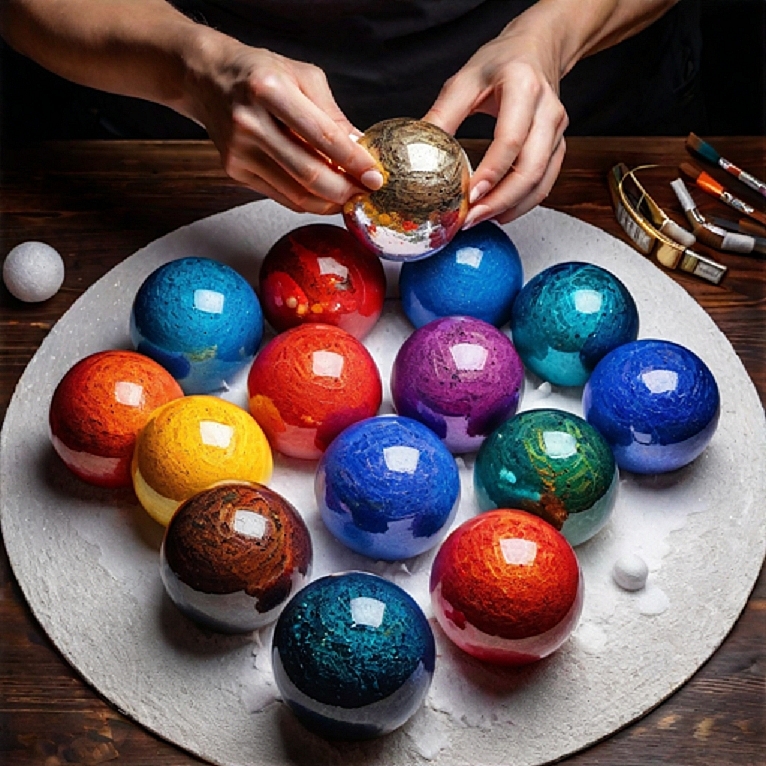
Materials Needed:
- Styrofoam balls (various sizes)
- Acrylic paint in planetary colours
- Paintbrushes
- LED lights or string lights
- Craft wire
- Hot glue gun and glue sticks
- Wooden dowels or a sturdy base
- Clear fishing line (optional for hanging planets)
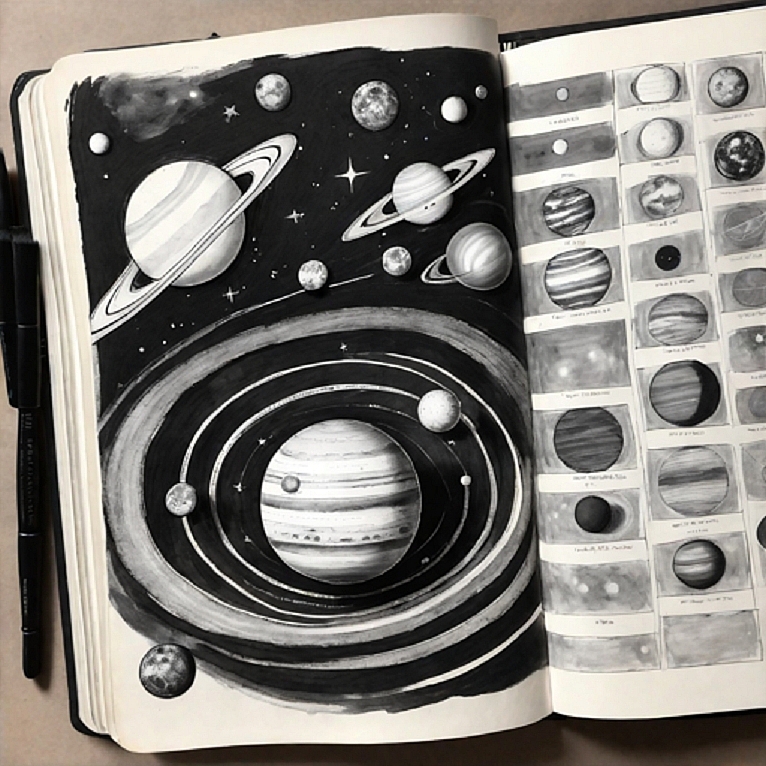
Step 1: Planetary Painting Begin by meticulously painting each Styrofoam ball to accurately portray the distinctive features of each planet in our solar system. Experiment with textures and hues, allowing your imagination to dictate the unique characteristics of each celestial body.
Here are some creative ideas on how to paint the planets using real planets' colours and patterns as inspiration:
-
Mercury:
- Inspiration: Mercury's surface is characterized by craters and rocky, dusty terrain.
- Idea: Use various shades of grey and brown to mimic the rocky surface, and add textured details to represent craters and uneven terrain.
-
Venus:
- Inspiration: Venus is known for its thick, yellowish atmosphere and swirling cloud patterns.
- Idea: Create a base of warm yellows and oranges, then add swirling cloud patterns with lighter shades. Integrate subtle shimmer or gloss for a cloudy effect.
-
Earth:
- Inspiration: Earth boasts diverse landscapes, including oceans, continents, and polar ice caps.
- Idea: Paint the oceans with various blues and greens, add continents in earthy tones, and include white caps for the polar regions. Incorporate glitter or small beads to represent city lights.
-
Mars:
- Inspiration: Mars is known for its red surface due to iron oxide (rust).
- Idea: Use shades of red and brown to mimic the Martian surface. Create texture with fine lines and speckles to represent the iron-rich soil.
-
Jupiter:
- Inspiration: Jupiter has a distinct banded appearance with swirling storms, including the iconic Great Red Spot.
- Idea: Paint alternating bands of white, beige, and light brown. Add a prominent Great Red Spot with various shades of red and orange, surrounded by swirling storm patterns.
-
Saturn:
- Inspiration: Saturn is famous for its stunning ring system.
- Idea: Paint the planet in soft yellows and creams, then add intricate ring details using metallic gold or silver paint. Incorporate glitter for a sparkling ring effect.
-
Uranus:
- Inspiration: Uranus has a pale blue-green hue with subtle cloud bands.
- Idea: Use soft shades of blue and green for the main body, and add faint cloud bands with wispy strokes. Consider incorporating iridescent or pearlescent paint for a unique touch.
-
Neptune:
- Inspiration: Neptune features a deep blue colour with stormy cloud formations.
- Idea: Paint the planet in deep blues, and add swirling storm patterns with darker blues and greys. Include hints of white for the cloud formations.
Remember to blend colours seamlessly, add texture for realism, and consider experimenting with different painting techniques to capture the unique features of each planet. The goal is to create a visually stunning and accurate representation of our solar system.
Step 2: Adding the Light Element Carefully puncture holes into each painted planet using a craft wire or a small dowel. Thread LED lights through the holes, ensuring an even distribution of lights across each planet. Secure the lights in place with a small amount of hot glue. Witness the transformative glow that brings your celestial bodies to life.
Step 3: Crafting the Cosmic Connection Utilize craft wire to fashion orbital paths for each planet, connecting them to a central point. This not only enhances realism but also establishes a stable structure. Affix the wires to the wooden dowels or base, creating the framework for your solar system model.
Step 4: Assembling Your Celestial Masterpiece Arrange the planets in their respective orbits, adjusting the lengths of the wires to accurately represent the distances between each celestial body. Secure the wires to the base, creating a dynamic and visually striking representation of our solar system.
Step 5: Create a Hanging Solar System For a suspended display, use a clear fishing line to hang each planet at varying heights, simulating the vastness of space. Adjust the lengths to achieve a three-dimensional effect that adds depth and intrigue to your model.
Ideas for Usage:
-
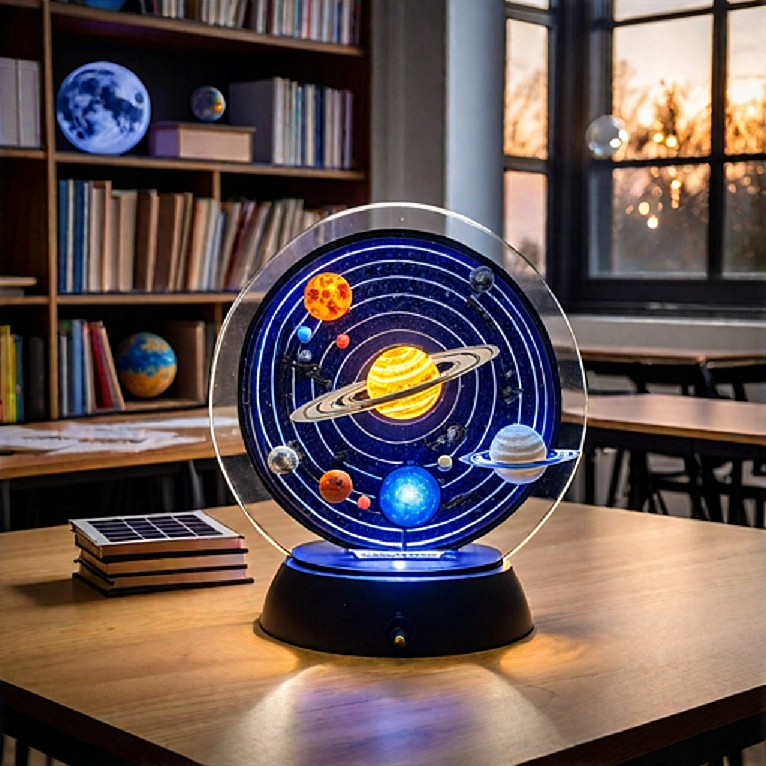
Educational Tool: Enhance learning experiences for students by using the light-up solar system model as a captivating educational tool in classrooms or science fairs.
-
Home Decor: Elevate your living space with a celestial centrepiece that sparks conversation and adds a touch of artistic flair to your home decor.
-
Planetariums or Museums: Create interactive exhibits in planetariums or museums, offering visitors a visually engaging and informative journey through our solar system.
-
Science-themed Events: Make a statement at science-themed events, parties, or science-related gatherings, captivating guests with a unique and dazzling display.
Celebrate your celestial craftsmanship and bask in the brilliance of your DIY light-up solar system model. Whether used as an educational aid, home decor, or a show-stopping exhibit, let the enchanting glow of the cosmos elevate your space and inspire wonder in all who encounter your celestial masterpiece. Craft, create, and let your imagination soar among the stars!
