Top 10 Easy Yet Impressive Painting Techniques
Painting is like stepping into a world of endless possibilities. For beginners and experienced artists alike, it’s both a creative outlet and a wonderful way to unwind. But here’s the thing—while some techniques can seem daunting, plenty of easy yet impressive methods are simple enough for anyone to try.
In this guide, we’ll dive into ten accessible painting techniques that look amazing without requiring years of practice.
So grab your brushes, gather your paints, and let’s get started on this colourful journey!
What Makes Painting Techniques "Easy" Yet "Impressive"?
Let’s face it, sometimes art can feel intimidating. With terms like "chiaroscuro" and "impasto" flying around, it might seem like creating a beautiful piece of artwork is reserved for seasoned artists. But that’s not the case at all. The techniques we’ll explore are easy because they’re forgiving—you don’t need a steady hand or precise measurements. And they’re impressive because they make your art look complex, even if the process itself is simple. Don’t believe us? Check out paint by numbers yourself!
The secret to mastering these techniques is to embrace experimentation. After all, art is as much about the process as it is about the result. So, let’s explore these methods with an open mind and see where creativity takes us.
1. Splattering: Creating Energy and Movement
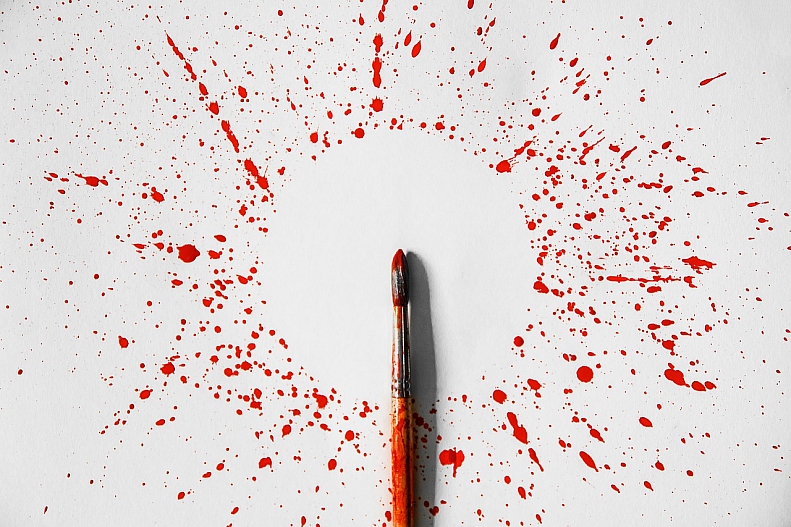
What is Splattering?
Splattering is a technique that adds spontaneity and energy to a painting. This method involves loading a brush with paint and flicking it across the canvas to create random, dynamic specks and splotches. It’s a fun, freeing way to add texture and movement to your artwork.
Materials Needed:
- Paintbrushes
- Acrylic or watercolor paint
- Protective covers for your workspace
How to Splatter:
- Dip your brush into a generous amount of paint.
- Hold the brush over the canvas and flick your wrist to send paint droplets onto the surface.
- Vary the angle, speed, and amount of paint on your brush for different effects.
Tips for Control:
Splattering can get messy! Cover nearby surfaces, or even better, take it outside. If you want smaller specks, hold the brush closer to the canvas and use a light flick. For larger splatters, use more paint and a more forceful flick of the wrist.
2. Blocking In: Laying Down the Foundation
What is Blocking In?
Blocking in involves using large brushes or sponges to lay down basic shapes and colours before diving into detail work. This technique helps you visualize the composition of your painting from the get-go.
Benefits for Beginners:
Blocking in is perfect for beginners because it gives a sense of structure before committing to the finer details. It’s like sketching with colour!
How to Block In:
- Choose a large brush or sponge.
- Apply your base colours in the general shapes where they belong (e.g., blue for the sky, green for trees).
- Once the foundation is set, you can go back and add detail over these blocks.
3. Dry Brushing: Achieving Texture and Depth
What is Dry Brushing?
Dry brushing is a technique where you use very little paint on the brush to create rough, textured strokes. It’s great for adding a rustic or textured feel to your artwork, like the roughness of tree bark or weathered stone.
How to Dry Brush:
- Dip your brush in paint, then wipe most of it off on a paper towel.
- Drag the nearly-dry brush lightly across the canvas.
- Repeat until you achieve the desired texture.
Where to Use Dry Brushing:
This technique shines when painting textures like wood, clouds, or foliage. It’s an easy way to add layers and depth without overwhelming your canvas.
4. Sgraffito: Scratching to Reveal Layers
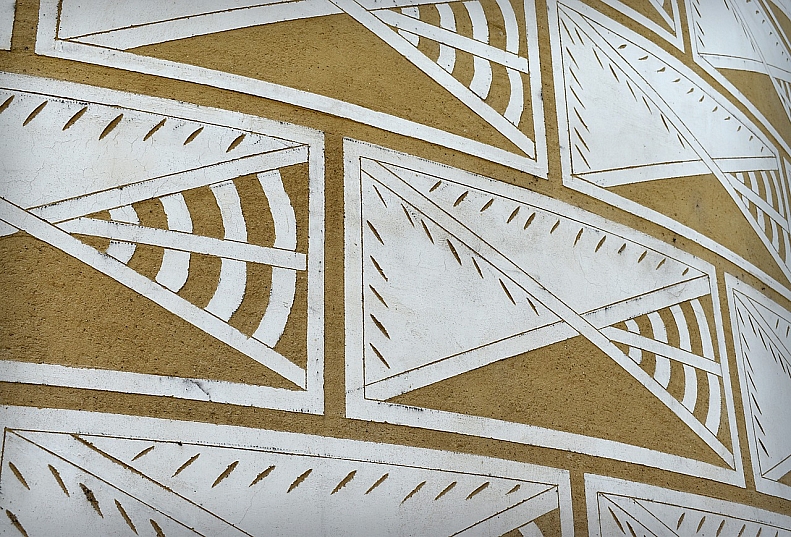
What is Sgraffito?
Sgraffito (Italian for “scratch”) involves scraping away a top layer of paint to reveal the colour beneath. It’s a dramatic way to add texture and intricate designs.
Materials Needed:
- Two layers of paint (preferably in contrasting colours)
- Palette knife or the handle of your brush
How to Do Sgraffito:
- Paint a base layer and let it dry.
- Add a second layer of paint on top.
- While the top layer is still wet, use your tool to scratch patterns, lines, or shapes to reveal the base colour.
5. Stippling: Building Shapes with Dots
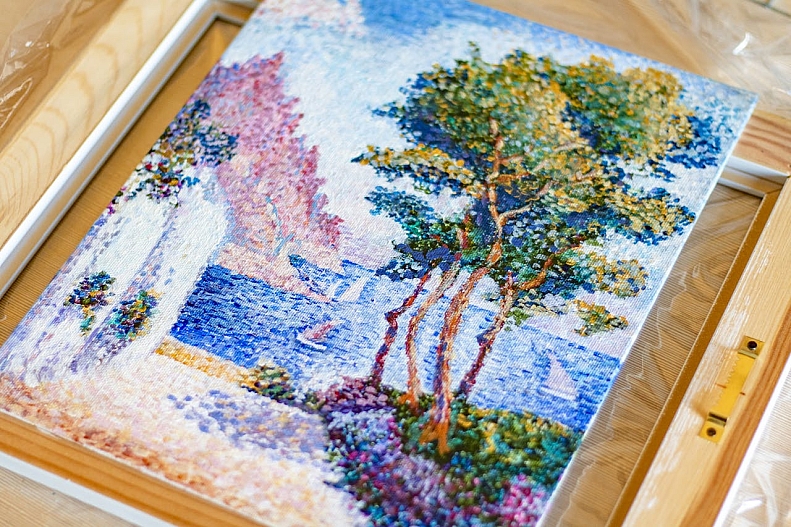
What is Stippling?
Stippling is a technique where you create images or add texture using dots. It’s similar to pointillism, where dots form larger images or create shading.
How to Stipple:
- Use a small, stiff brush and apply dots in a concentrated area.
- Add more dots closer together for darker areas and space them out for lighter areas.
- Experiment with different sizes of dots for a dynamic effect.
Effects and Depth:
Stippling is fantastic for portraits and still-life paintings where soft shadows and gentle gradients are needed. It’s a time-consuming but rewarding process!
6. Underpainting: Setting the Scene with Depth
What is Underpainting?
Underpainting is a preparatory layer of paint, often in a single colour, that helps establish values and depth in a painting. Artists often use earthy tones for underpainting to create a sense of warmth.
How to Create an Underpainting:
- Choose a base colour and apply a light wash over the canvas.
- Paint the general shapes and shades of your composition.
- Let it dry, then apply your final colours on top, using the underpainting as a guide.
7. Dabbing: Adding Soft Patterns and Accents
What is Dabbing?
Dabbing involves using a sponge, cloth, or brush to apply small patches of colour. It’s a great technique for adding texture to landscapes, especially for trees, leaves, or clouds.
Materials:
- A sponge, cloth, or stiff brush
How to Dab:
- Load a sponge or brush with paint and gently press it against the canvas.
- Repeat to build texture without smearing or blending too much.
8. Glazing: Adding Depth with Transparent Layers
What is Glazing?
Glazing involves adding thin, transparent layers of paint over a dried layer to create a glossy effect. This technique enhances colour richness and adds depth.
How to Glaze:
- Mix paint with a medium to make it more transparent.
- Apply a thin layer over your base colour.
- Allow each layer to dry before applying another for best results.
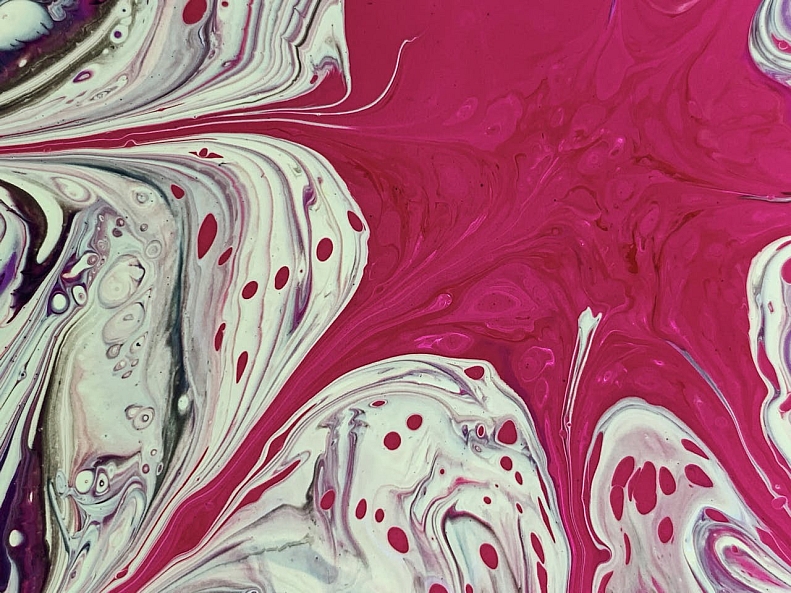
9. Paint Pouring: Mesmerizing Swirls and Patterns
What is Paint Pouring?
Paint pouring involves mixing paint with a pouring medium and pouring it onto a canvas to create natural, fluid designs. It’s a mesmerizing, hands-off technique.
How to Create Pour Art:
- Mix each paint colour with a pouring medium.
- Pour the paints onto the canvas in layers.
- Tilt the canvas to spread the paint and let the colours blend naturally.
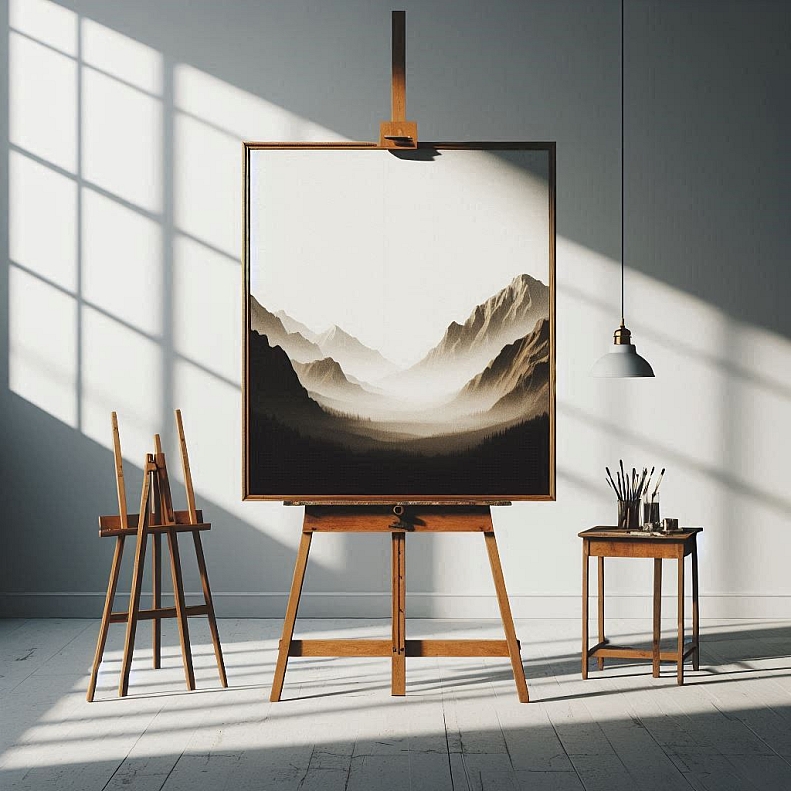
10. Chiaroscuro: Light and Dark for Drama
What is Chiaroscuro?
Chiaroscuro is an Italian term meaning "light-dark." It’s a technique that uses contrast to create depth and drama, famously used by Renaissance artists.
How to Practice Chiaroscuro:
- Plan out where your light source will be.
- Use dark colours in shadow areas and light colours for highlights.
- Blend the two gradually to create a soft, realistic effect.
Bonus Technique: Palette Knife for Bold Textures
Using a palette knife instead of a brush adds unique, bold textures. Simply scoop up paint with the knife and apply it in broad strokes for abstract, textural elements.
Materials Checklist
- Essential Brushes: Flat, round, fan, and detail brushes.
- Canvas or Paper: Choose based on your preferred medium.
- Paint: Acrylics, watercolours, or oils.
- Palette Knife: For texturing and bold strokes.
- Mediums: Glazing or pouring mediums as needed.
Tips for Beginners to Make the Most of These Techniques
- Embrace Mistakes: Art is about expression, not perfection.
- Stay Organized: Keep materials ready and clean for a smoother process.
- Practice Regularly: Each technique becomes easier with practice.
Embrace the Joy of Painting!
Trying new techniques in painting is like discovering a new language for self-expression. Each brushstroke and colour choice is a chance to learn and grow. So, go on, let these ten easy yet impressive techniques inspire your next masterpiece. Remember, every artist started as a beginner—what matters is the journey, so enjoy every colourful moment!


COMMENTS
These painting techniques sound like so much fun! I especially love the idea of splattering to create energy and texture — it's such a free-spirited way to add depth to a piece. Can't wait to try these!